Always consult OEM procedures before installing self-piercing rivets (SPRs).
Use appropriate PPE: safety glasses, mechanic gloves, respirator, nitrile gloves and goggles.
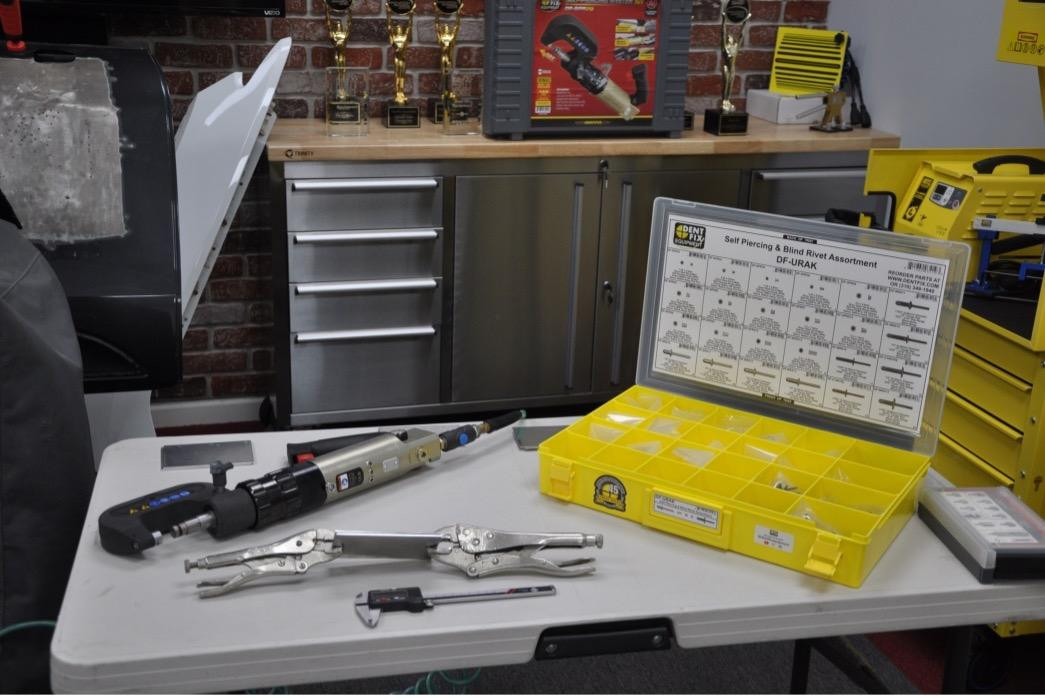
Get necessary tools ready: rivets, adhesives, rivet gun, locking pliers, stainless steel brush, caliper or micrometer, IPA or acetone, clean up rags and marking pen.
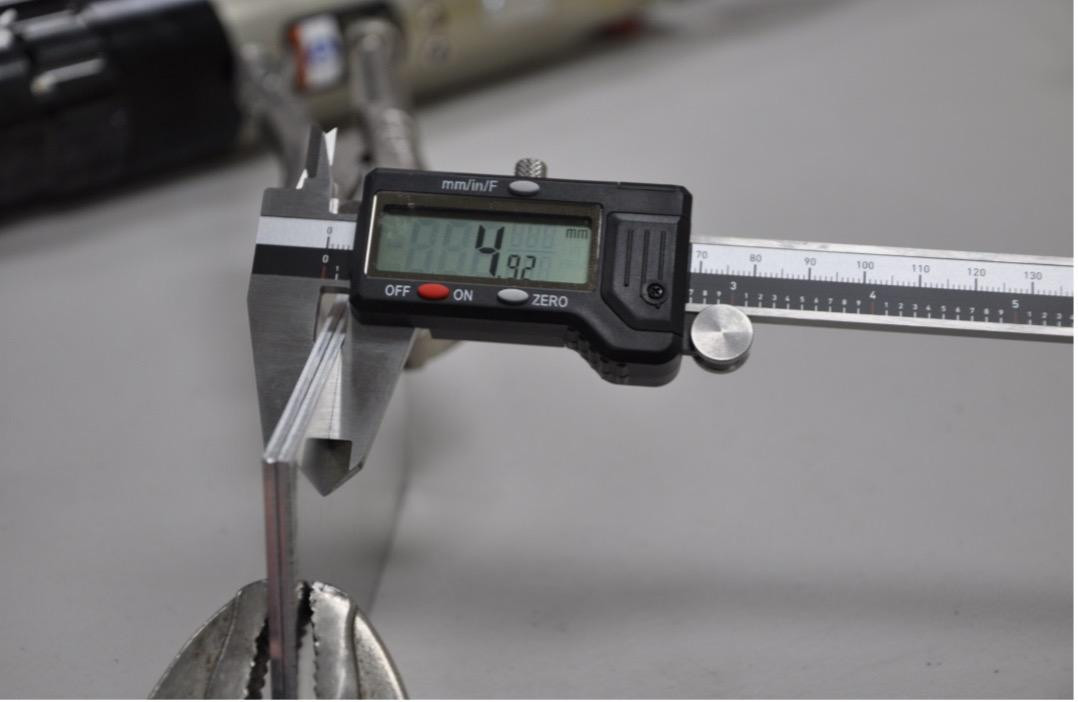
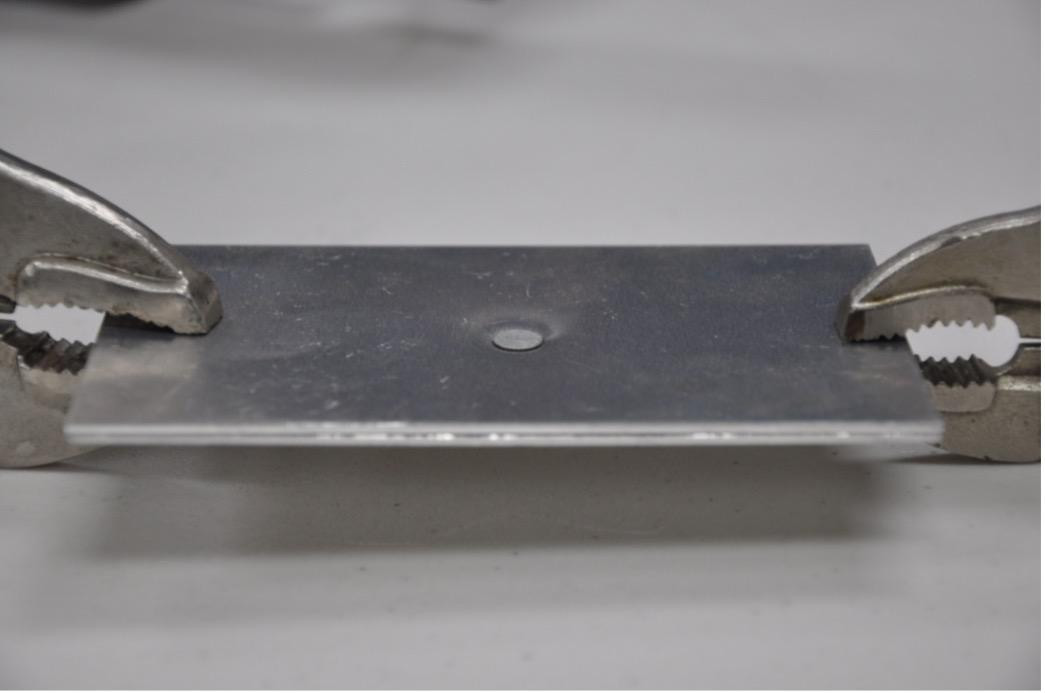
Clamp the panels together and measure total stack, or thickness.
The general rule of thumb is total stack + 2 mm equals the length of the SPR. Only use this formula if factory packaged rivets are not available or for a quick check on the factory rivet.
In this example, 4.92 mm + 2 mm = 6.92 mm. A 7 mm SPR is needed.
Next, glue is applied to both mating surfaces and spread out evenly. Another bead is applied (no spread out) for bond line thickness. Clamps are applied to the panels.
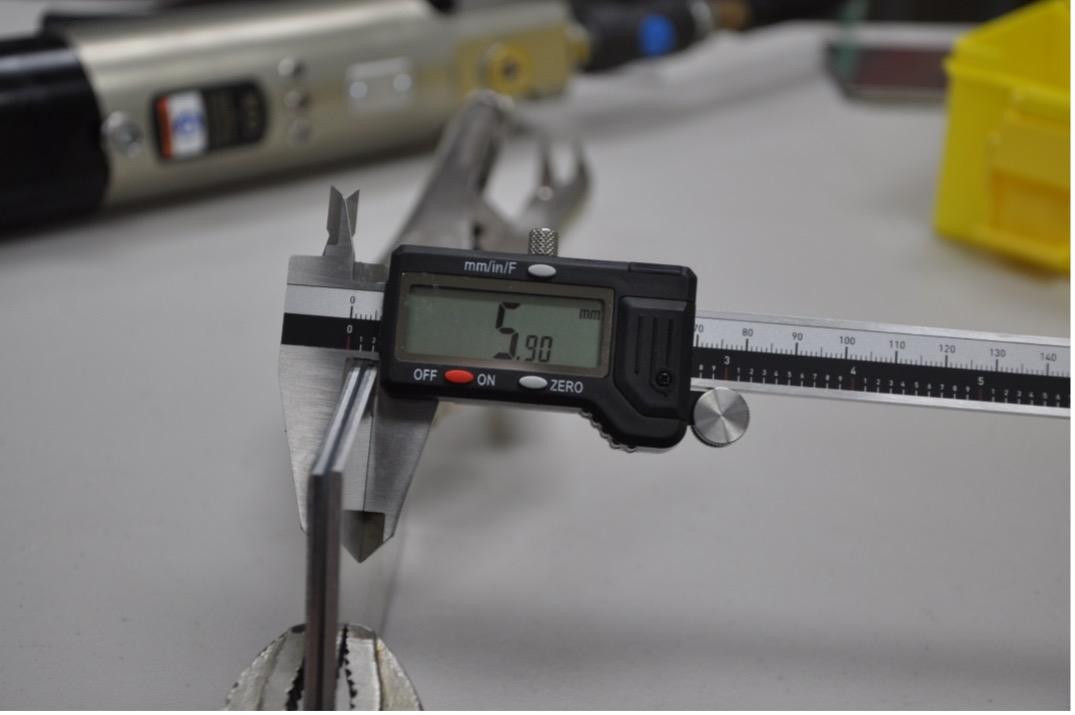
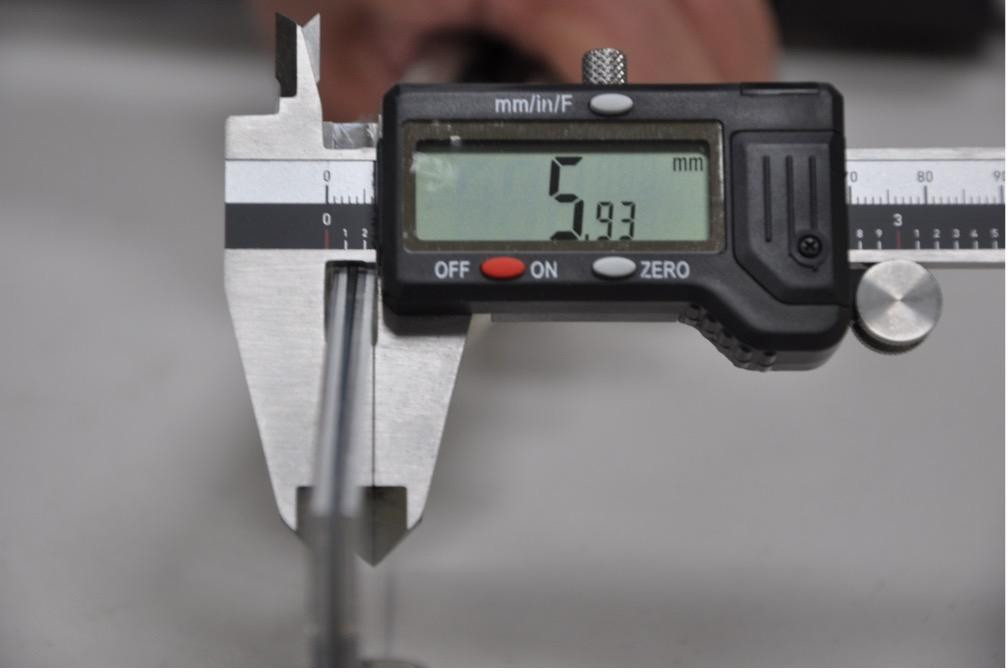
Measure the total thickness of the stack with the adhesive.
Continuing with this example, 5.98 + 2 mm = 7.98 mm. An 8 mm SPR is now needed.
Always measure the thickness of the stack as it would be used on the vehicle for test panels when rivet bonding and weld bonding.
Once a correct rivet length has been determined, the amount of pressure to set the rivet needs to be checked.
The stack is measured and the correct rivet length for this example will be 5 mm.
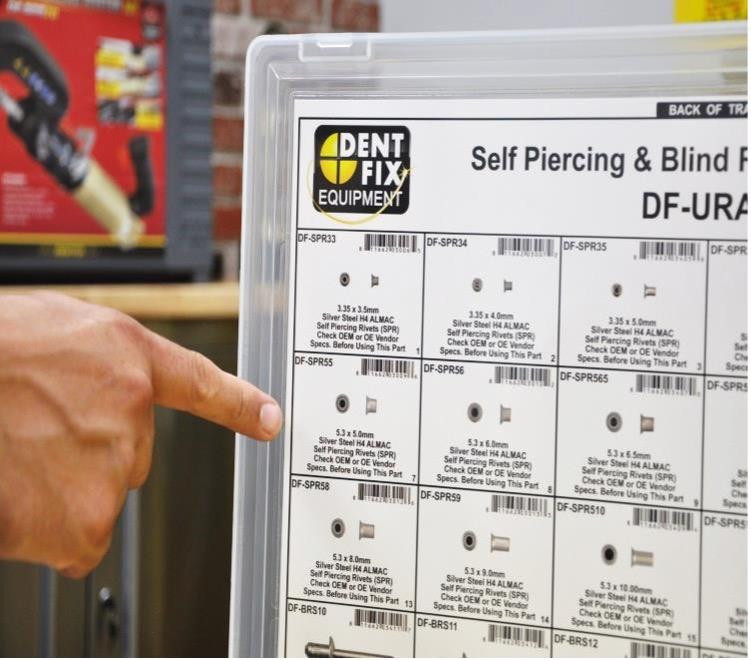
Always check the length of the rivets -- both factory packaged and loose rivets in a drawer -- that are going to be used.
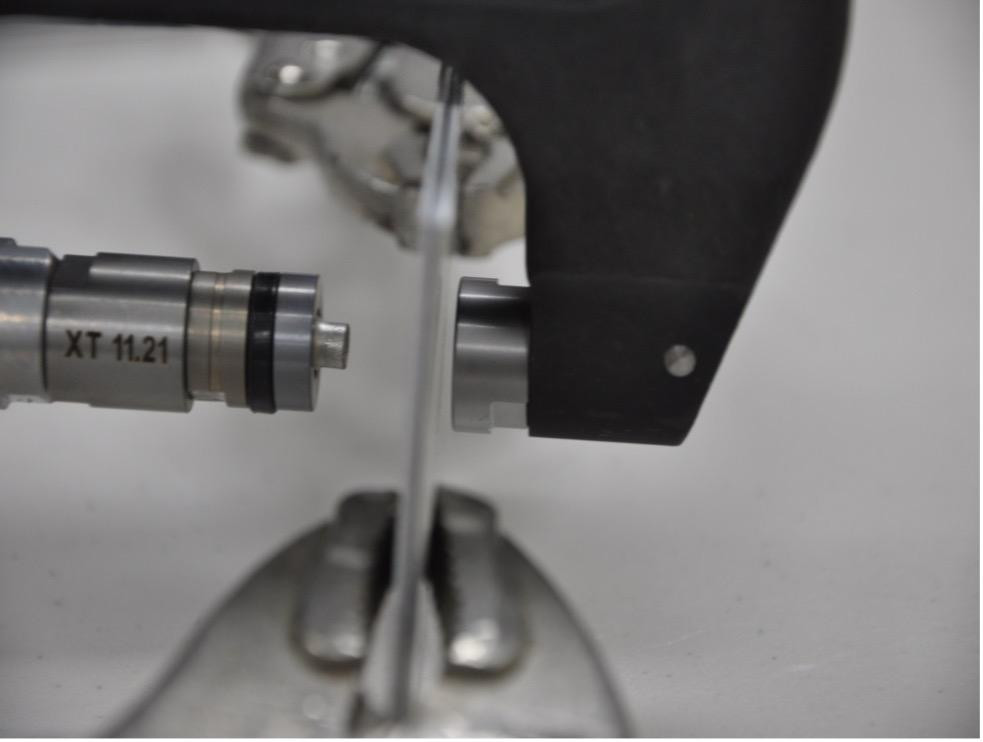
Set the SPR in the rivet gun and set the pressure. In this example, the rivet size was 5 mm at 5 bars.
Note there is no visible outer ring from the SPR holder, but a gap between the rivet head and panel. The pressure is too low.
When the pressure is set at 7 bars, the indentation around the rivet is too deep. When it’s set at 8 bars, there is pressure distortion.
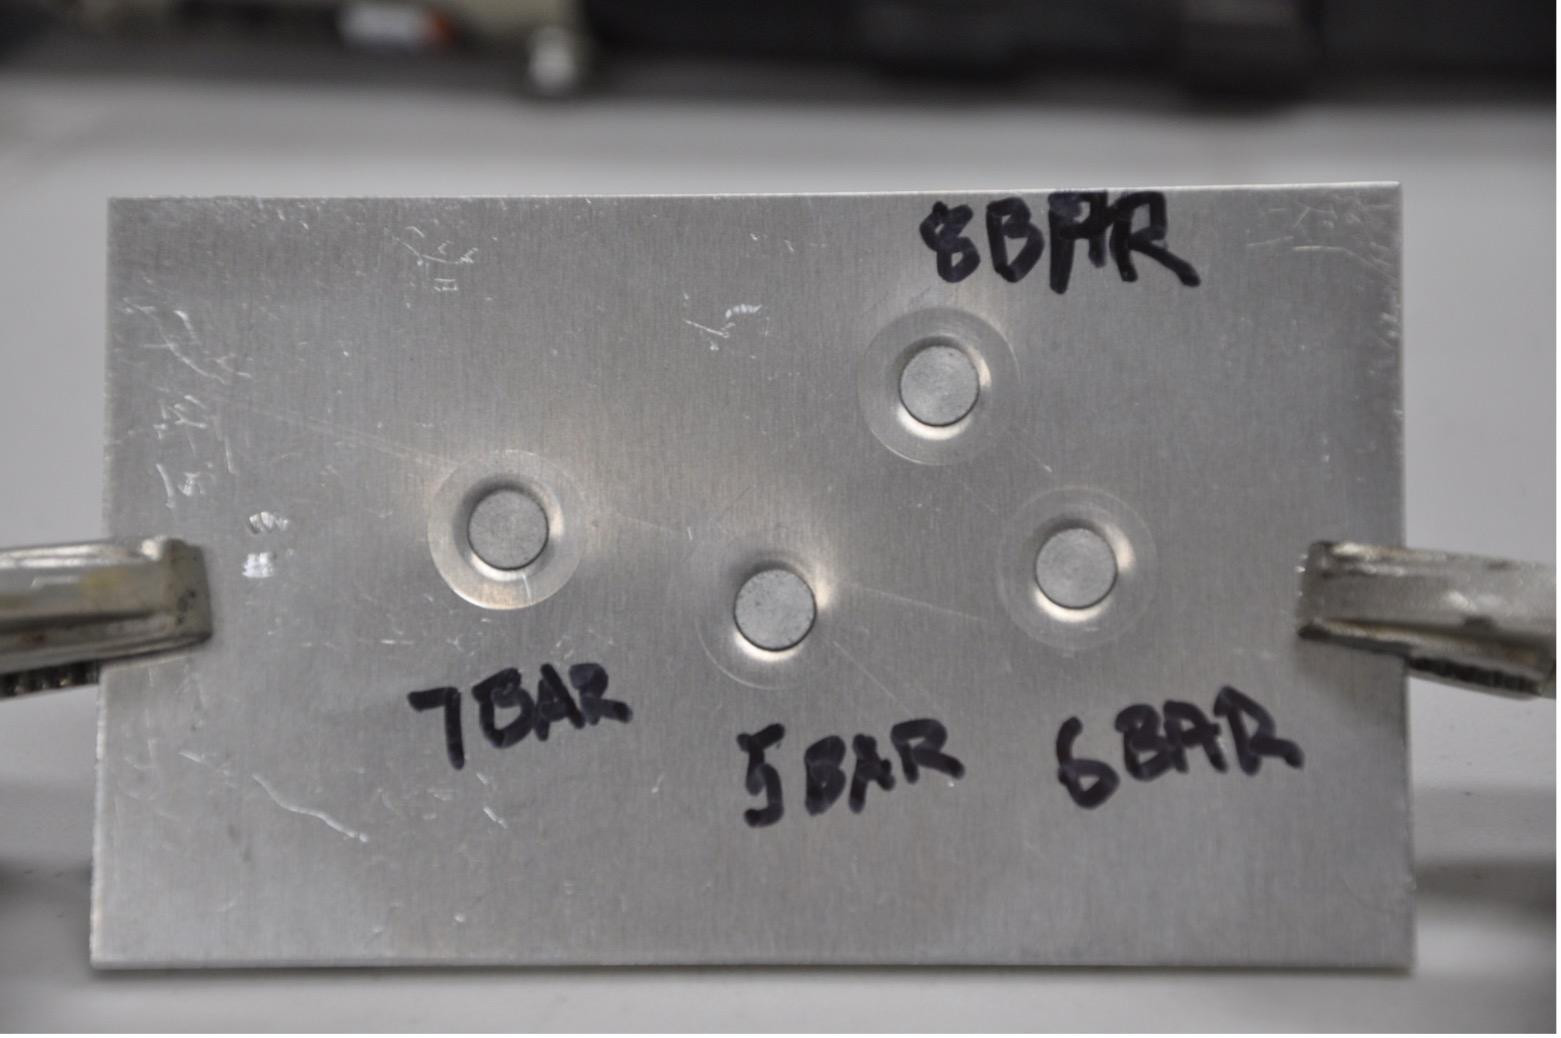
Looking at the sample test blanks above, a setting of 6 bars or 60 psi would be the best pressure setting.
A three-panel stack was measured to test the length for the rivet.
An 8 mm SPR was selected and a pressure of 5 bars was used; 6 mm and 10 mm SPRs were also used.
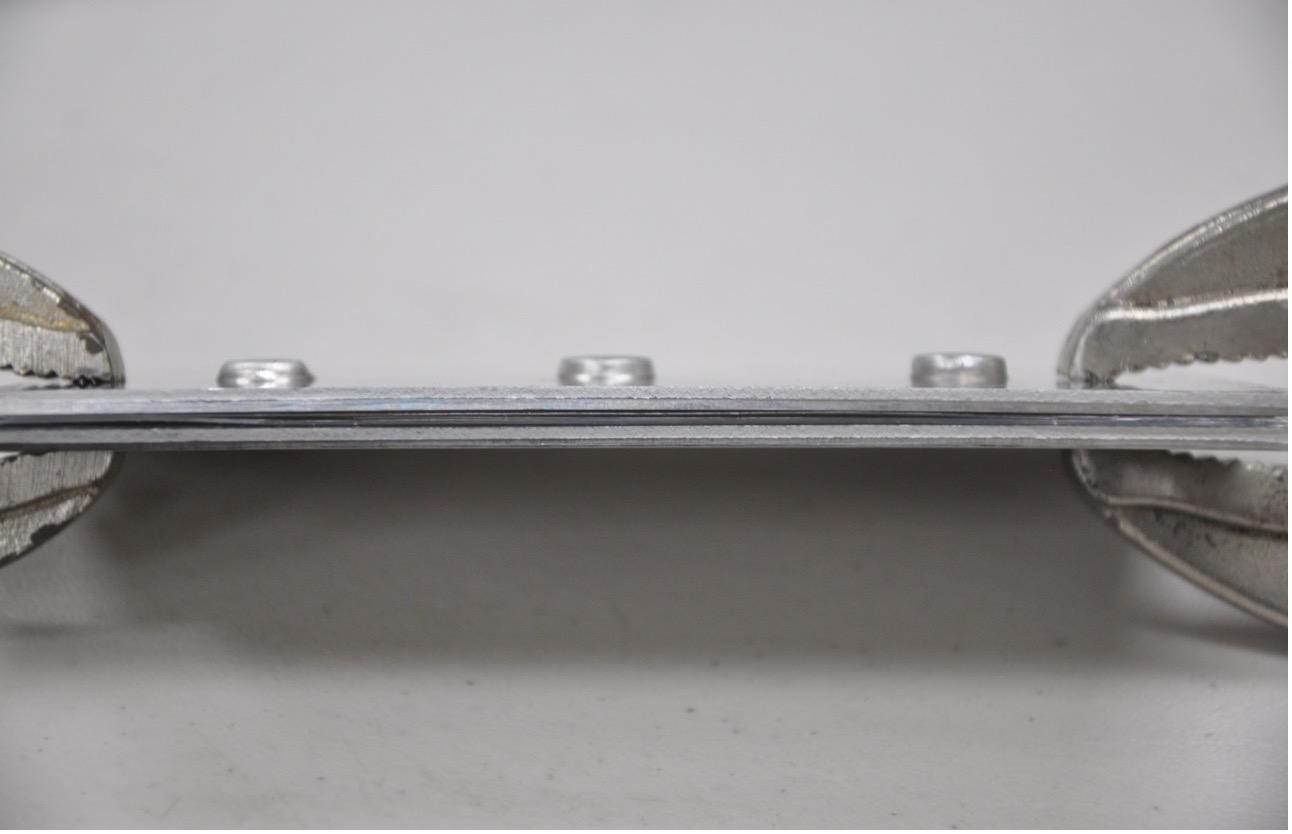
As seen in the picture above, the rivet will not penetrate the bottom plate completely if it is too short (left), and it will not expand laterally if it is too long (right). The correct 8 mm rivet is seen in the center.


